What are the most common leaking tap causes?
A leaking tap is usually caused by wear inside the tap itself. Over time, the internal parts that seal water can deteriorate from regular use.
In some homes, this happens gradually over many years. In others, hard water, high pressure, or poor installation can significantly shorten the lifespan of tap components.
Although different tap designs fail in different ways, there are a few causes we see far more often than others.
Worn washers
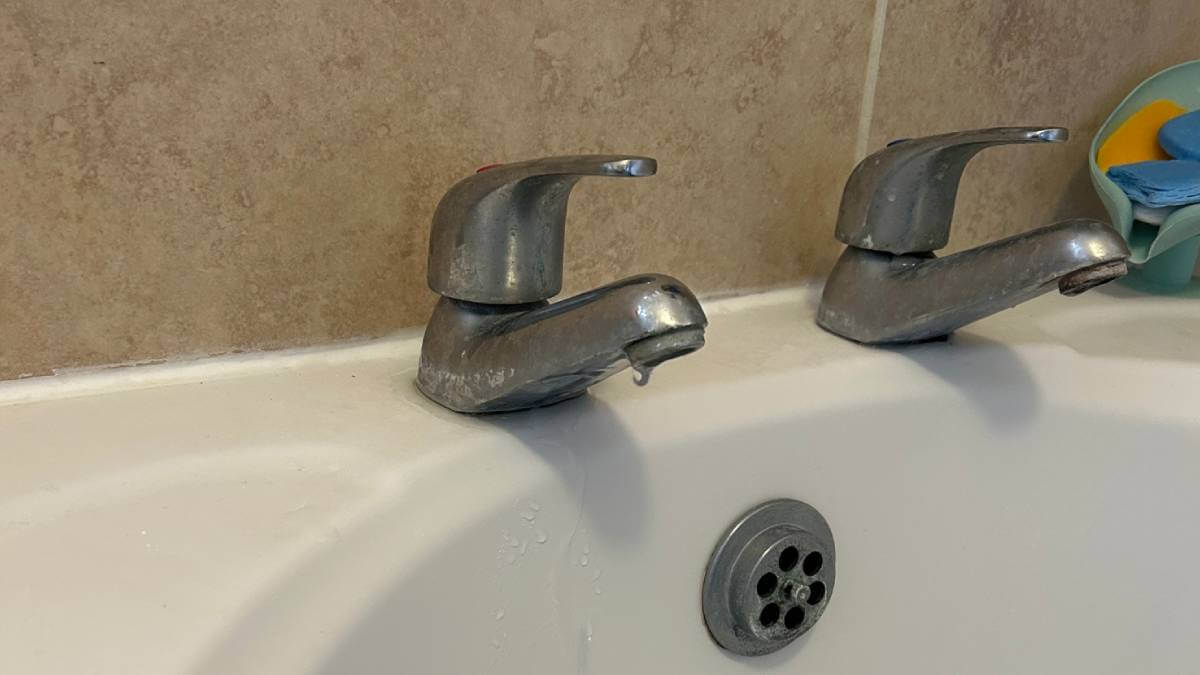
If you have older-style taps with separate hot and cold handles that require multiple rotations to turn on or off, there is a good chance they use rubber washers internally (more modern taps are likely to have ceramic cartridges that only need a quarter turn to turn on and off – we’ll come to that shortly).
These washers are designed to create a watertight seal whenever the tap is closed. The problem is that rubber naturally wears down over time. After years of being compressed repeatedly, the washer eventually hardens, cracks, or loses its shape.
Once that happens, water can begin slipping past the seal even when the tap appears fully closed.
Signs of a worn washer often include:
- Constant dripping from the spout
- Taps needing to be tightened excessively
- Squeaking when turning the handle
- A gradual worsening of the leak over time
This is one of the most common reasons homeowners start searching for how to fix a leaking tap.
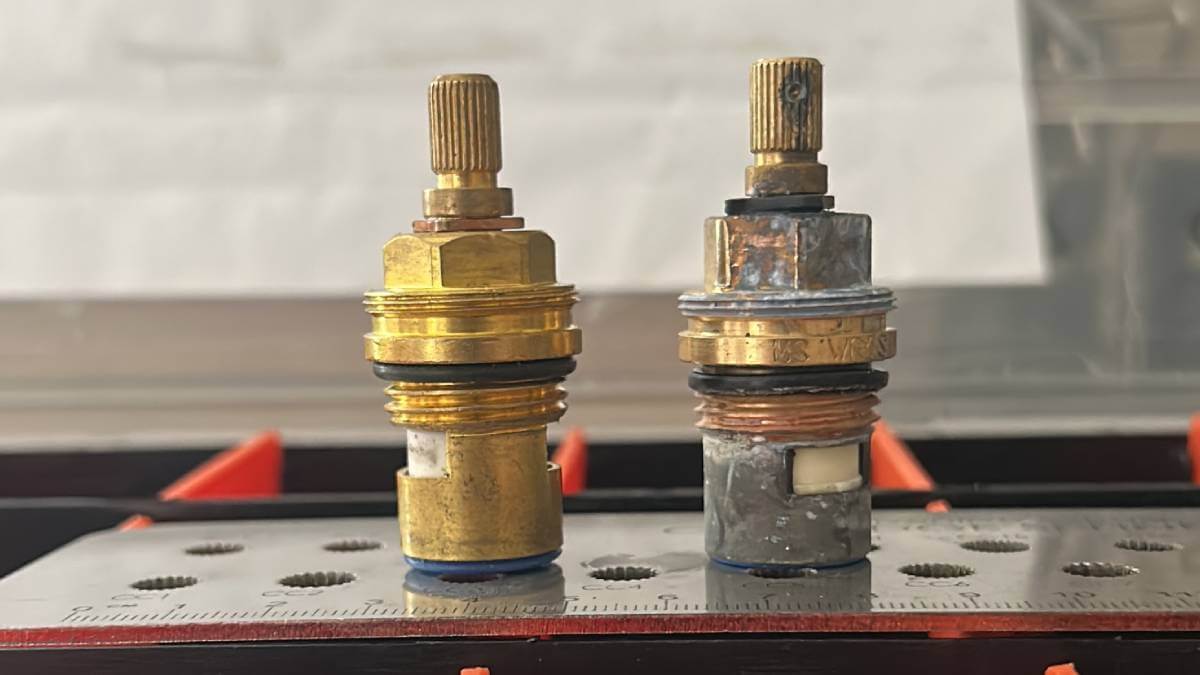
Faulty ceramic cartridges
Modern taps often use ceramic cartridges rather than traditional rubber washers.
These cartridges contain polished ceramic discs which regulate water flow. They tend to last longer than older washer systems, but they are not indestructible.
Over time, debris, sediment, and mineral deposits can damage the internal mechanism. Once the cartridge no longer seals correctly, leaks start to develop.
You may notice:
- Dripping from the tap spout
- Difficulty turning the tap smoothly
- Uneven water flow
- Leaking around the handle
Replacing a ceramic cartridge is often more effective than repairing its internal parts.
Damaged O-rings
O-rings are small circular seals fitted around moving parts inside the tap.
When these begin to wear out, water can leak around the handle or base of the tap rather than from the spout itself.
This type of leak is especially common in heavily used kitchen taps where the handles are constantly being turned throughout the day.
Fortunately, replacing an O-ring is usually relatively inexpensive if caught early enough.
Limescale and mineral build-up
Hard water can be particularly tough on plumbing fixtures.
Over time, mineral deposits build up inside taps, cartridges, and valves. In some cases, limescale prevents the tap from sealing properly. In others, it gradually damages internal components altogether.
Guidance from
Water UK explains how hard water affects household plumbing systems and appliances across many parts of the UK.
You may notice:
- Reduced water flow
- Stiff tap handles
- White mineral deposits around fittings
- Intermittent dripping that gradually worsens
Regular cleaning can help reduce build-up, but heavily scaled taps may eventually need replacement parts.
High water pressure
Water pressure is something many homeowners rarely think about until a plumbing problem appears.
Excessive pressure places additional strain on taps, seals, and valves. Over time, this constant stress can cause internal components to wear out faster than they normally would.
Pressure-related issues sometimes show up as:
- Repeated leaks across multiple taps
- Banging pipes
- Taps that drip only at certain times of day
If several plumbing fixtures develop leaks at the same time, it may be worth having the water pressure professionally checked.
Corrosion inside older taps
In older properties, internal corrosion is another common cause of leaks.
Metal components naturally deteriorate with age, particularly where moisture and minerals are involved. Once corrosion develops around the valve seat or internal threads, water can begin to escape through tiny gaps in the tap body.
Unfortunately, corrosion-related issues are often difficult to repair permanently. In many cases, replacing the tap becomes the more sensible long-term option.
Loose parts and poor installation
Not every leaking tap is caused solely by age.
Sometimes leaks happen because:
- Fittings were not tightened properly
- Incorrect replacement parts were installed
- Components were overtightened
- The original installation was poor quality
We occasionally attend jobs where a minor DIY repair has unintentionally damaged threads or cracked fittings, turning a small leak into a much larger plumbing issue.
How to isolate the water supply
Before attempting to repair a leaking tap, turn off the water supply to prevent further leaking or accidental flooding.
Start by checking underneath the sink for the isolation valves connected to the tap’s flexible pipes. These are usually small valves with a lever or a slotted screw head.
Turn the valve clockwise using a flat-head screwdriver, or move the lever until it sits across the pipe. This should stop the water supply to the affected tap without turning off the water throughout the property.
Once the valve has been closed, turn on the tap to release any remaining water and pressure in the pipework. Leave the tap open while carrying out the repair.
If there are no isolation valves beneath the sink, you may need to turn off the property’s main stopcock. This is commonly located:
- Under the kitchen sink
- In a downstairs cupboard
- Near the front door
- In a utility room or garage
After closing the stopcock, open the tap to check that the water has stopped flowing before beginning any work.
If the isolation valve or stopcock is difficult to turn, appears damaged or does not fully stop the water, avoid forcing it and contact a qualified plumber.
How to stop a leaking tap
Once you have identified the likely cause, the next step is to carry out the repair safely.
Some repairs are straightforward enough for confident homeowners. Others are better left to professional plumbers, particularly if older pipework or seized fittings are involved.
Turn off the water supply first
Before you start removing any parts, make sure the water supply is turned off first.
Most sinks have small isolation valves underneath them, which let you shut off the water to just that tap. That means you can usually carry out the repair without turning off the water to the whole house.
If your sink does not have isolation valves fitted, you will probably need to use the main stopcock instead.
Once the water is off:
- Turn the tap on fully to clear any remaining water
- Wait for the flow to stop completely
- Put the plug in the sink so small screws or fittings do not disappear down the drain
It might seem like an obvious step, but skipping it is a very quick way to turn a small leaking tap repair into a much bigger plumbing problem.
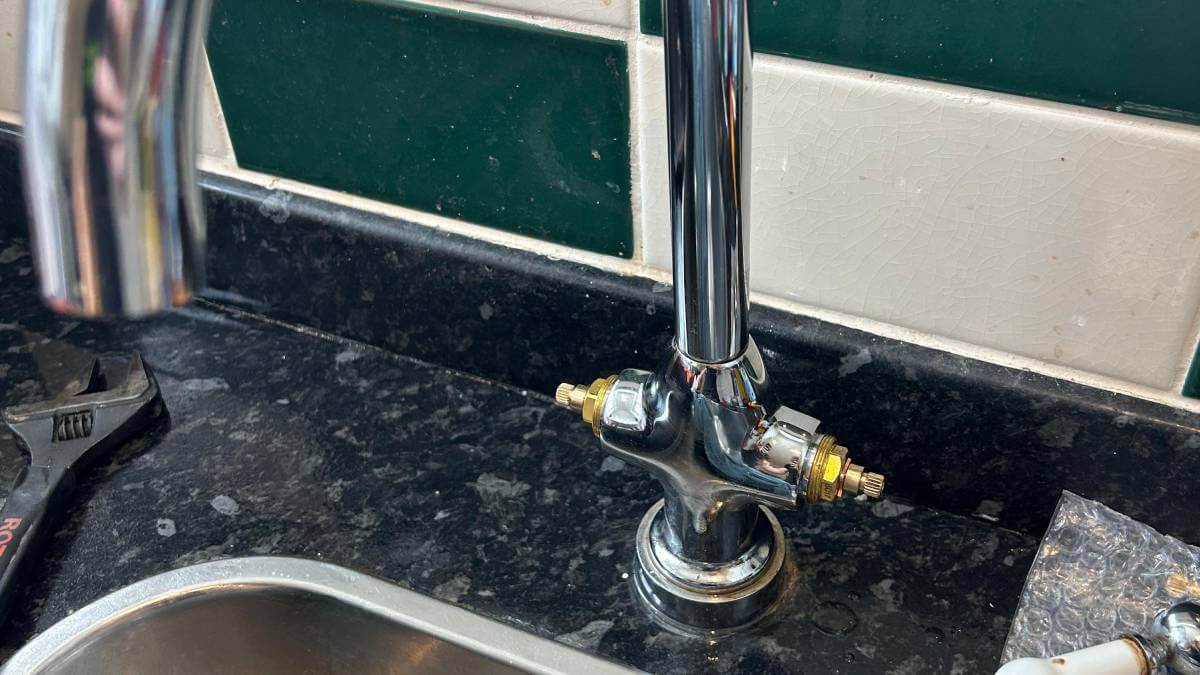
Remove the tap handle
The next stage is accessing the internal mechanism.
Depending on the tap design, this may involve:
- Removing decorative caps
- Unscrewing visible fixings
- Using an Allen key
- Loosening retaining nuts
Take your time here. Older taps can seize over time due to corrosion or limescale.
Applying too much force can crack fittings surprisingly easily.
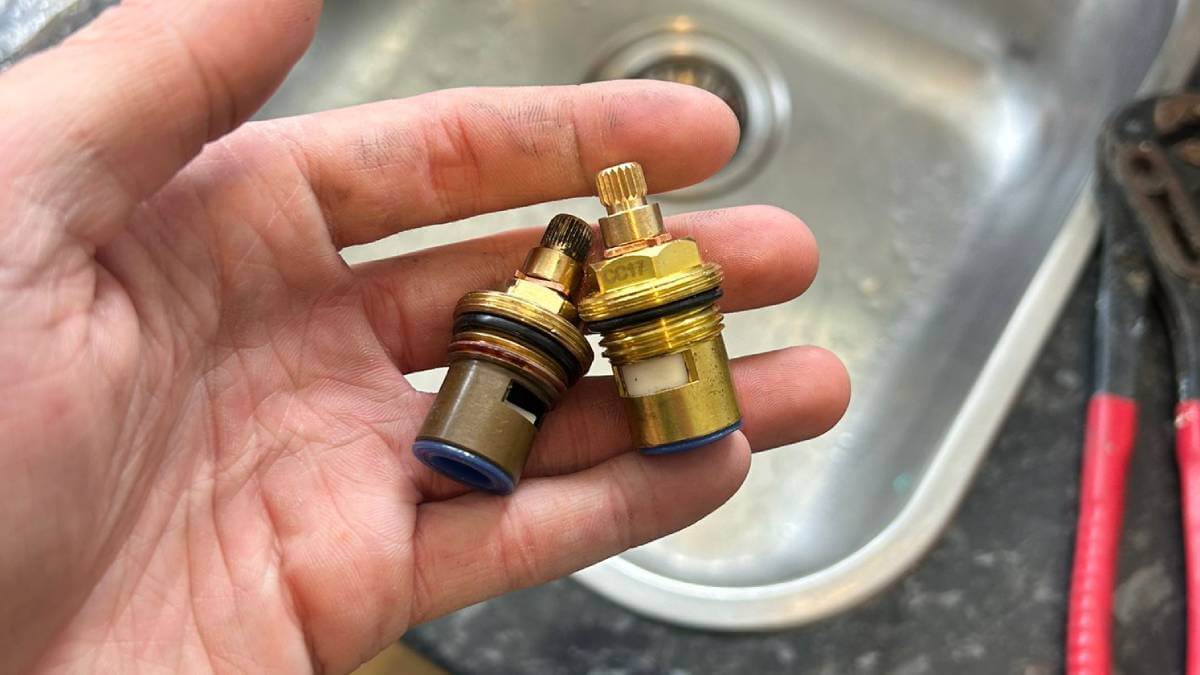
Remove the cartridge or valve
Once the handle is removed, you should be able to access the valve or cartridge underneath.
This usually requires:
- An adjustable spanner
- Careful loosening of retaining nuts
- Gentle removal of internal components
If parts feel completely seized, it is often safer to stop rather than forcing them aggressively.
Inspect the internal components
With the tap dismantled, check for:
- Flattened washers
- Split seals
- Corrosion
- Mineral deposits
- Cracked cartridges
In many cases, the worn component is fairly obvious once removed.
Replace any damaged parts
If you are replacing a washer or cartridge:
- Make sure the replacement matches exactly
- Avoid using incorrect universal parts
- Fit seals carefully
- Tighten fittings evenly rather than excessively
Modern taps often use brand-specific cartridges, so taking the old part to a plumbing supplier can help ensure the correct replacement.
Reassemble and test carefully
Once everything is back together:
- Restore the water supply slowly
- Check for leaks gradually
- Test both hot and cold functions
- Inspect underneath the sink as well as above
It is worth monitoring the repair over the next few hours to make sure no slow leaks remain.
Common mistakes people make when fixing a leaking tap
DIY plumbing repairs can absolutely save money when done properly. But there are a few mistakes we see regularly.
Overtightening components
Many people assume tighter automatically means better.
In reality, overtightening can:
- Crack fittings
- Damage threads
- Distort seals
- Create new leaks
Using incorrect replacement parts
Not all washers and cartridges are interchangeable.
Even taps that look almost identical externally may use completely different internal components.
Damaging decorative finishes
Using unsuitable tools can scratch or chip modern tap finishes surprisingly easily.
Protective cloths and the correct tools make a big difference.
Continuing with repairs on corroded taps
Sometimes a tap has simply reached the end of its usable life.
Where corrosion is severe, replacing the entire fixture is often the more reliable and cost-effective option.
How to help prevent leaking taps in future
No tap lasts forever, but regular maintenance can significantly extend its lifespan.
- Avoid slamming taps shut: Taps should close firmly, not forcefully. Repeatedly overtightening handles places unnecessary strain on washers and cartridges.
- Deal with minor drips early: Small leaks tend to grow into larger ones eventually. Fixing issues early often prevents damage from spreading to surrounding components.
- Keep limescale under control: Regular cleaning helps prevent mineral deposits from building up around moving parts. Which? has useful guidance on maintaining taps and removing limescale safely without damaging finishes.
- Arrange professional plumbing checks: In older properties, especially, occasional inspections can help spot pressure issues, corrosion, worn fittings and developing leaks. This can help prevent larger plumbing emergencies later on.
Need help with a leaking tap? Lime heating can help
A leaking tap might seem minor at first, but left unchecked, even a slow drip can lead to wasted water, damaged fittings, and rising household costs.
Understanding how to fix a leaking tap can help you spot early warning signs and deal with straightforward issues before they worsen. In some cases, replacing a washer or cartridge may be all that is needed. In others, particularly when corrosion, pressure issues, or ageing plumbing are involved, professional repairs are usually the safer option.
At Lime Heating, we provide practical plumbing support backed by years of hands-on experience. Whether you need trusted routine repairs or
emergency plumbers in Milton Keynes for urgent leaks, our team is here to help.
If you are dealing with a leaking tap and want the issue resolved properly,
contact Lime Heating today to arrange a professional inspection and repair.